J has struggled with keeping track of 'things'... whether they are physical belongings or the passage of time and the need to move onto a new activity. We are experts in charts, lists, timetables, visual cues, reminders, tick sheets to name a few. Early on, I realised the laminator would be my friend. J hates the feel of certain types of paper but if it's encased in a bonded plastic wallet - hey presto, he will touch it! Not only that but if we make a sufficiently 'generic' template, we can laminate it and then use dry wipe pens to customise it as appropriate.
For things like hand washing, when J was younger, we took pictures of each of the steps involved so he got them in the right order without having to always ask (or, more often, forget what to do so didn't bother).
 |
| Blank month template - created in Excel |
We use timetables - monthly overviews and then weekly detail is added on a Monday. Ours are laminated sheets and J uses whiteboard pens to fill them in. Using them to put on the 'definites' like therapy appointments and activities as well as maybes like seeing friends or chores around the house/garden. J likes to see his weekly timetable updated on a Monday and, if there's a hated dental appointment ahead, he DOES NOT want that mentioned again until we set off.
Tick lists are good for 'what do I need in my bag' and used to consist of things like water bottle, fiddle toy, items for activity, snacks, suncream, hat, glasses and so on. But these days, after years of learning, J will talk these through 'out loud' to himself when getting ready for the day rather than use a physical list. Actually, he talks through most tasks if he's undertaking them 'solo'. He seems to need the repetition to consolidate the action.

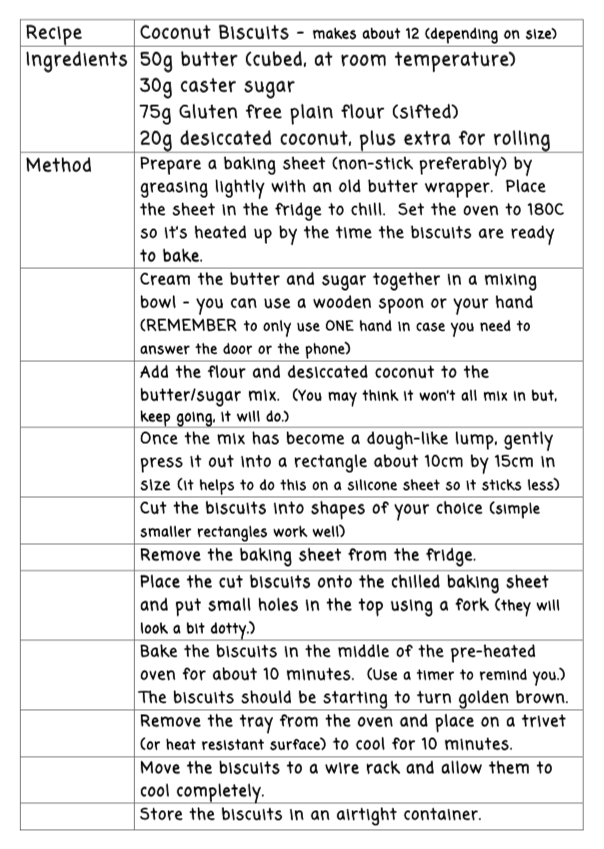
A great part of J's organisation and planning 'training' has been cooking. He follows a recipe and will take each piece step by step. He likes the familiarity of gathering the ingredients, checking for the equipment and then following the method. Recently we have started to type up and laminate favourite recipes.
With a clear layout and step by step instructions, these sheets are also
used as tick sheets to keep track of where in the recipe has been
reached.
We often use a cooking analogy when taking on other things like packing an overnight bag or sorting out what is needed for a hydrotherapy session - remembering 'ingredients' (things needed for the task/outing) and 'method' (what will be done, in which order to achieve the outcome).
 |
| Shoe sticker |
As a younger child, colour coding things also worked well. Obviously, he loved all things yellow (hence the name of the blog) and
so, where possible, we gathered items that were yellow and then when looking for 'our stuff' when leaving Nana's or coming home from sports club, he'd look for yellow items that may be ours. We had a blue bag for school so things related to that were also blue.
 |
| Home made shoe sticker |
He had stickers, cut in half, in his shoes so that the picture was showing properly when the shoes were put together. He then knew the shoes were the right way round and would go on the correct feet.
Counting down the time to a change of task or getting ready to go out is still something we do. J has very little concept of the passage of time and hates to be 'surprised' by what he sees as a sudden change. In school he had a sand timer (which he'd tip onto its side) and we have digital timers that we set for him to see and hear the time passing. These days, for going out of the house, we do a fifteen minute warning, a five minute warning and a 'right, time to get going'... the dog has picked up on the word "right" and dashes about which is an additional cue to make J realise his time's up!
Of course, there are resources aplenty to buy online... usually at great
cost because anything labelled SEN or disability aid appears to have a hefty
mark up added. So, I have spent hours trawling sites, reading books,
chatting to therapists and seeking our own 'version' of things that work
for us.
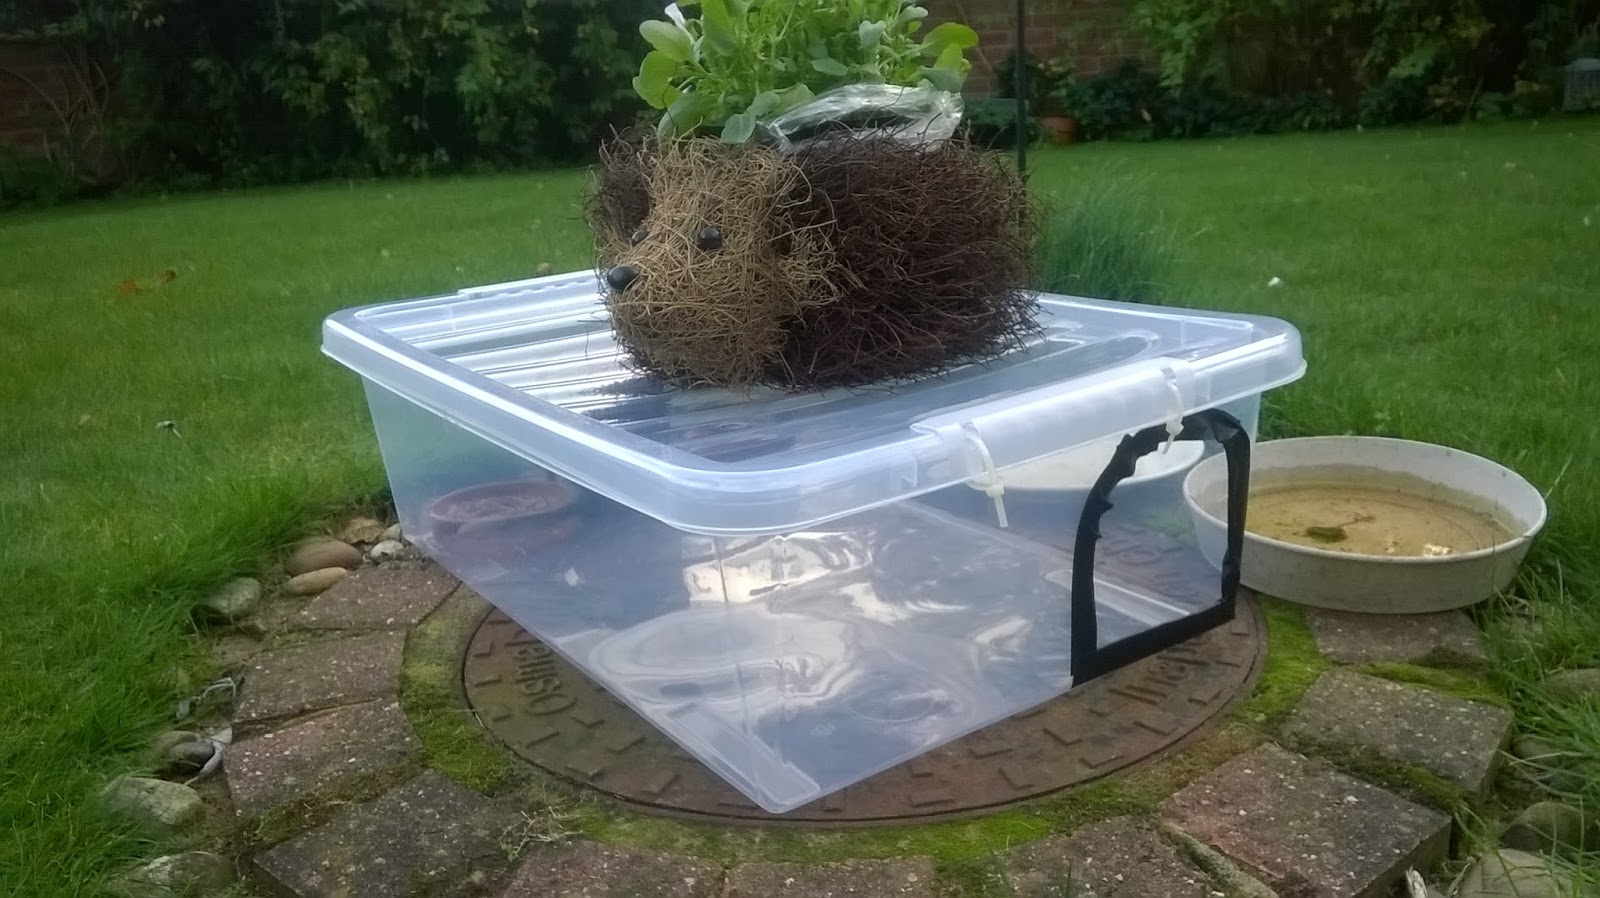

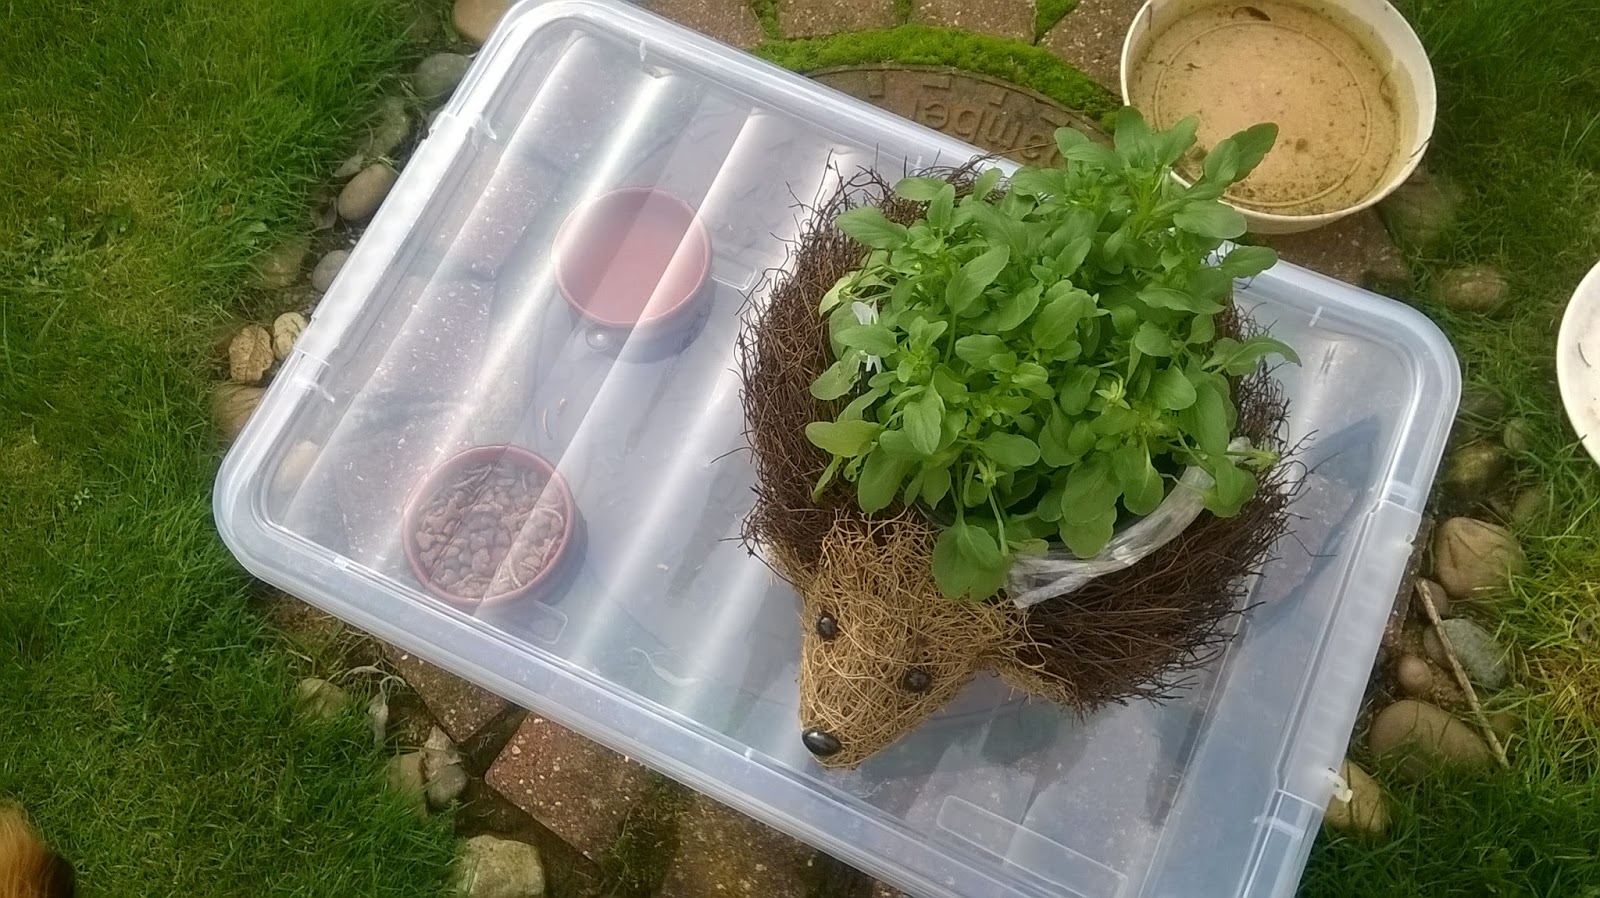
 Having bought a 32litre underbed storage box (ours was £4), we took a white board pen and marked a doorway for Hedgie.
 carefully used to cut the plastic - it was brittle so there were some sharp splits. After removing the "door", the rough edges were then filed and covered with electrical tape.